After you created a token, chances are you’ll wish to replace your token info within the token web page on block explorers reminiscent of including a brand, social media hyperlinks, and extra.
Understand that updating token info is a course of carried out independently of Token Software by Bitbond. It’s accomplished through the chosen community’s assist crew.
What you might want to replace token info
- An account on the block explorer of the token’s community
- Token contract deal with
- Entry to the pockets proudly owning the token contract deal with
- The contract must be “Precise Match Verified” on the block explorer
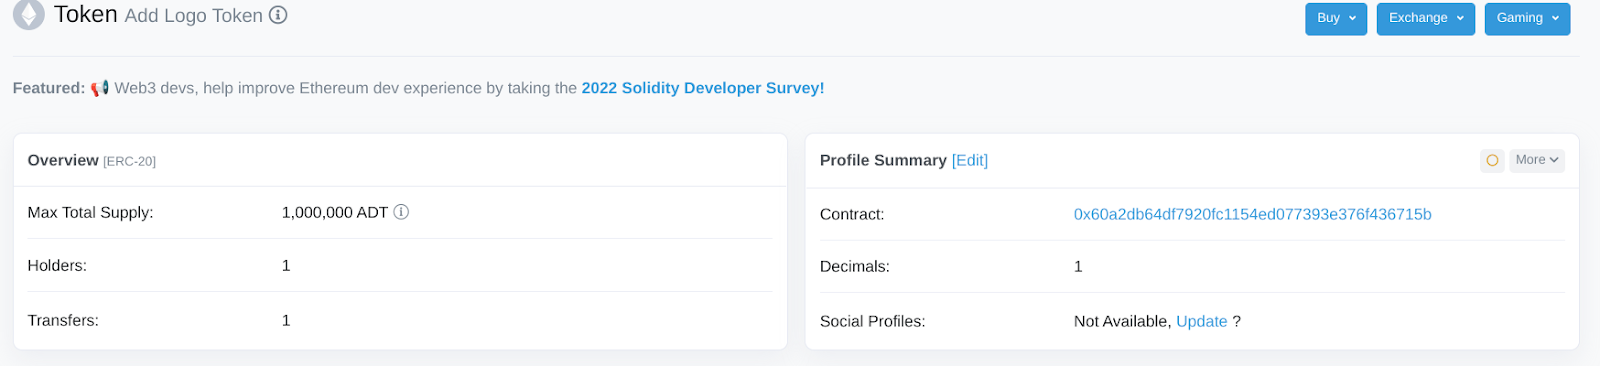
To verify if a token is verified, search for a inexperienced verify mark on the contract tab of your token within the block explorer. Right here is an instance of a token that’s precise match verified: https://etherscan.io/deal with/0x60a2db64df7920fc1154ed077393e376f436715b#code.
If it’s not verified and also you created your token utilizing Token Software, merely click on the “Confirm Button” through the Handle Token operate

The method for updating token info is usually comparable on most networks. Some networks have slight variations. This information will describe the method of including a brand to your token and updating your ERC-20 token info on Ethereum.
So as to add a brand to your token and replace your token info on Etherscan, it’s essential to show token possession.
Step 1: Log into your Etherscan account. Alternatively, for those who shouldn’t have an Etherscan account, you’ll be able to join an account right here.
Step 2: As soon as you might be logged in, hover over your username on the top-right click on on Verified Tackle within the drop down.
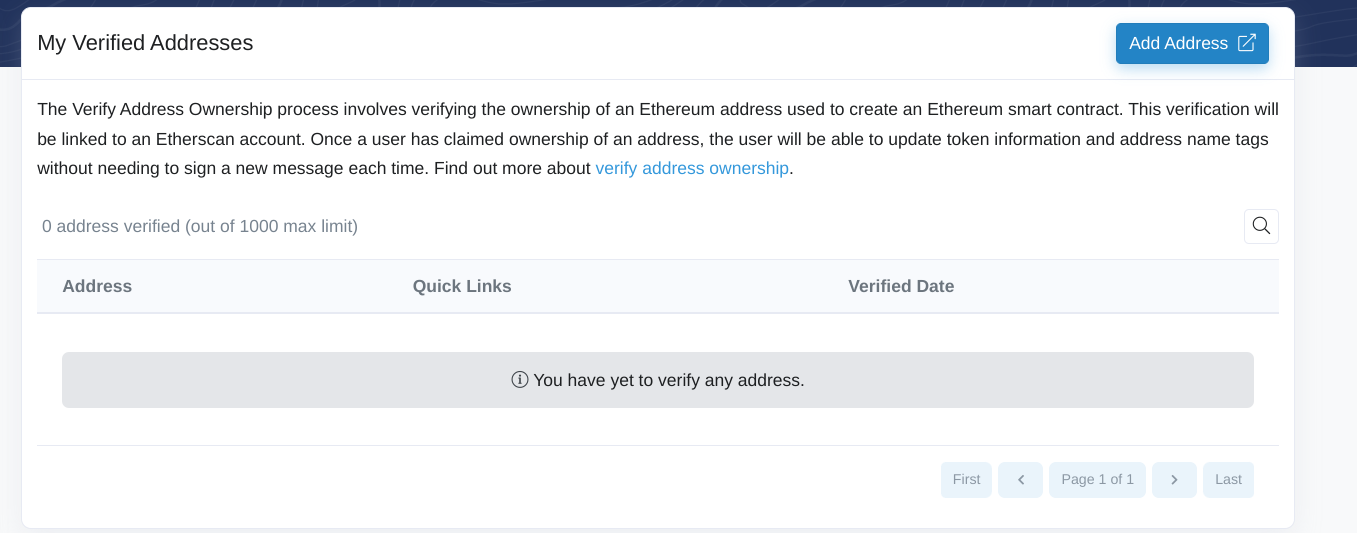
Step 3: The next web page will present you what number of contract addresses you already verified as. To assert possession of a brand new contract deal with, merely click on the Add Tackle button.
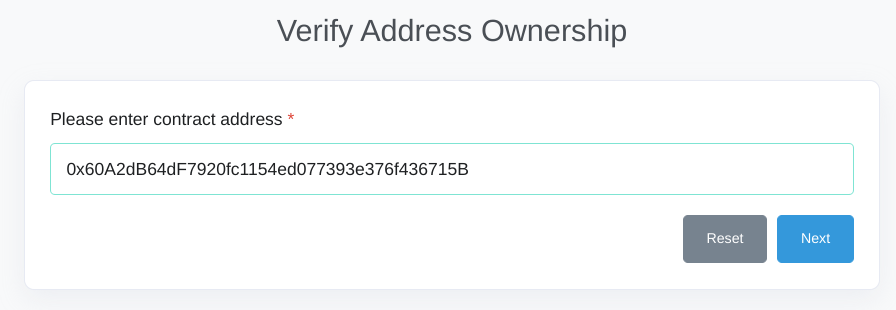
Step 4: Paste your contract deal with into the enter field and click on Subsequent.
Step 5: A message can be exhibited to signal it utilizing your pockets both via the “Signal Message Manually” button or signal with Web3 (Metamask). Should you’re utilizing Metamask, merely choose the Web3 choice.
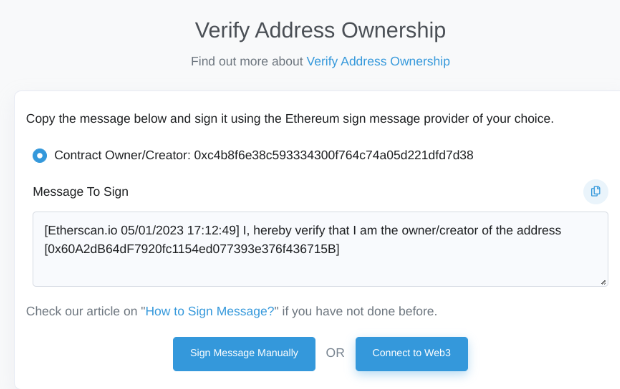
Step 6: Join your pockets by clicking Hook up with Web3 and by additionally approving the connection in your Metamask pockets. Then click on on Signal with Web3.
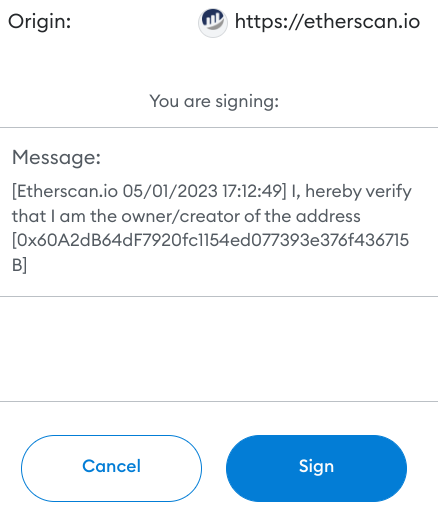
Step 7: A popup will seem in your pockets with the message to be signed. Ensure all the main points are right, after which click on Signal.
Step 8: After signing the message click on on the Click on to Proceed button on the Etherscan web page.

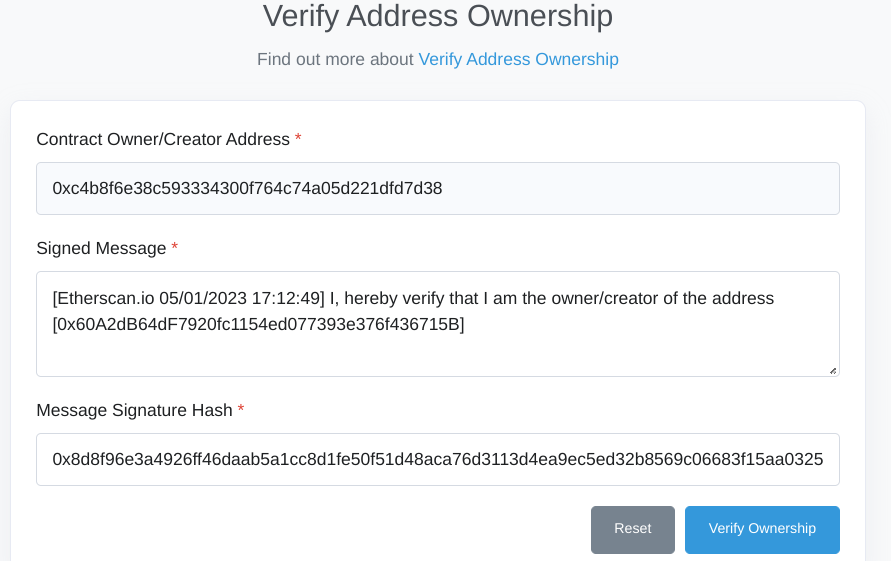
Step 9: You may be directed to the web page under the place the deal with, message, and signature hash have been prefilled. Now click on on Confirm Possession
Step 10: You need to see a web page that claims you’ve claimed the possession of your contract deal with. Additionally on the identical web page, there’s a record of issues that you may now do together with your verified contract deal with.
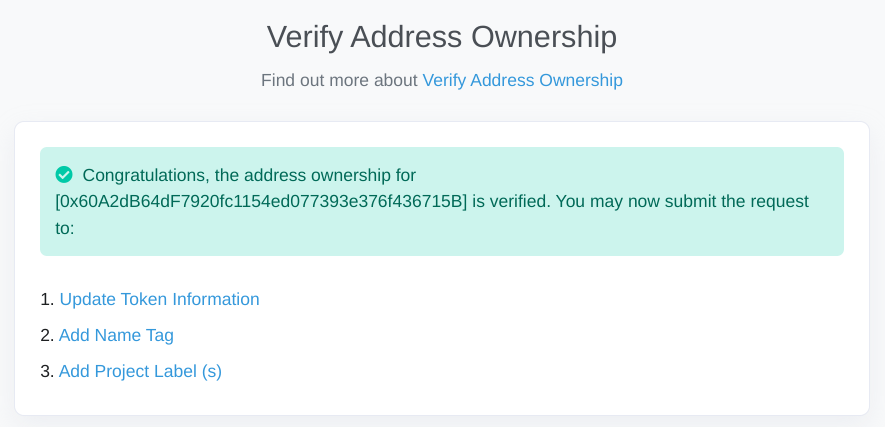
So as to add a brand and replace different token info click on on Replace Token Data. You may be redirected to kind submission the place you might want to present token and venture associated info.
As soon as your submission is authorized and processed by Etherscan’s assist crew, you’ll then be offered the required entry so as to add a brand and different token info.
You can even replace the token info so as to add a brand and different at a later stage. Merely go to your token web page on Etherscan, then click on on Edit or Replace underneath the “Profile Abstract” part of the token. You may be redirected to the submission kind to offer details about your token and venture.